Create or edit a resource
When you first create a resource bookings page, one resource is available to book by default. Rather than create another bookings page for a second resource, you can show multiple resources on one bookings page. This can help visitors compare the availability of resources on the same web page.
This article covers how to add a new resource or edit an existing resource, capture additional information from the person booking a resource, and control what information about current bookings visitors to your page can see.
- Go to your bookings page.
-
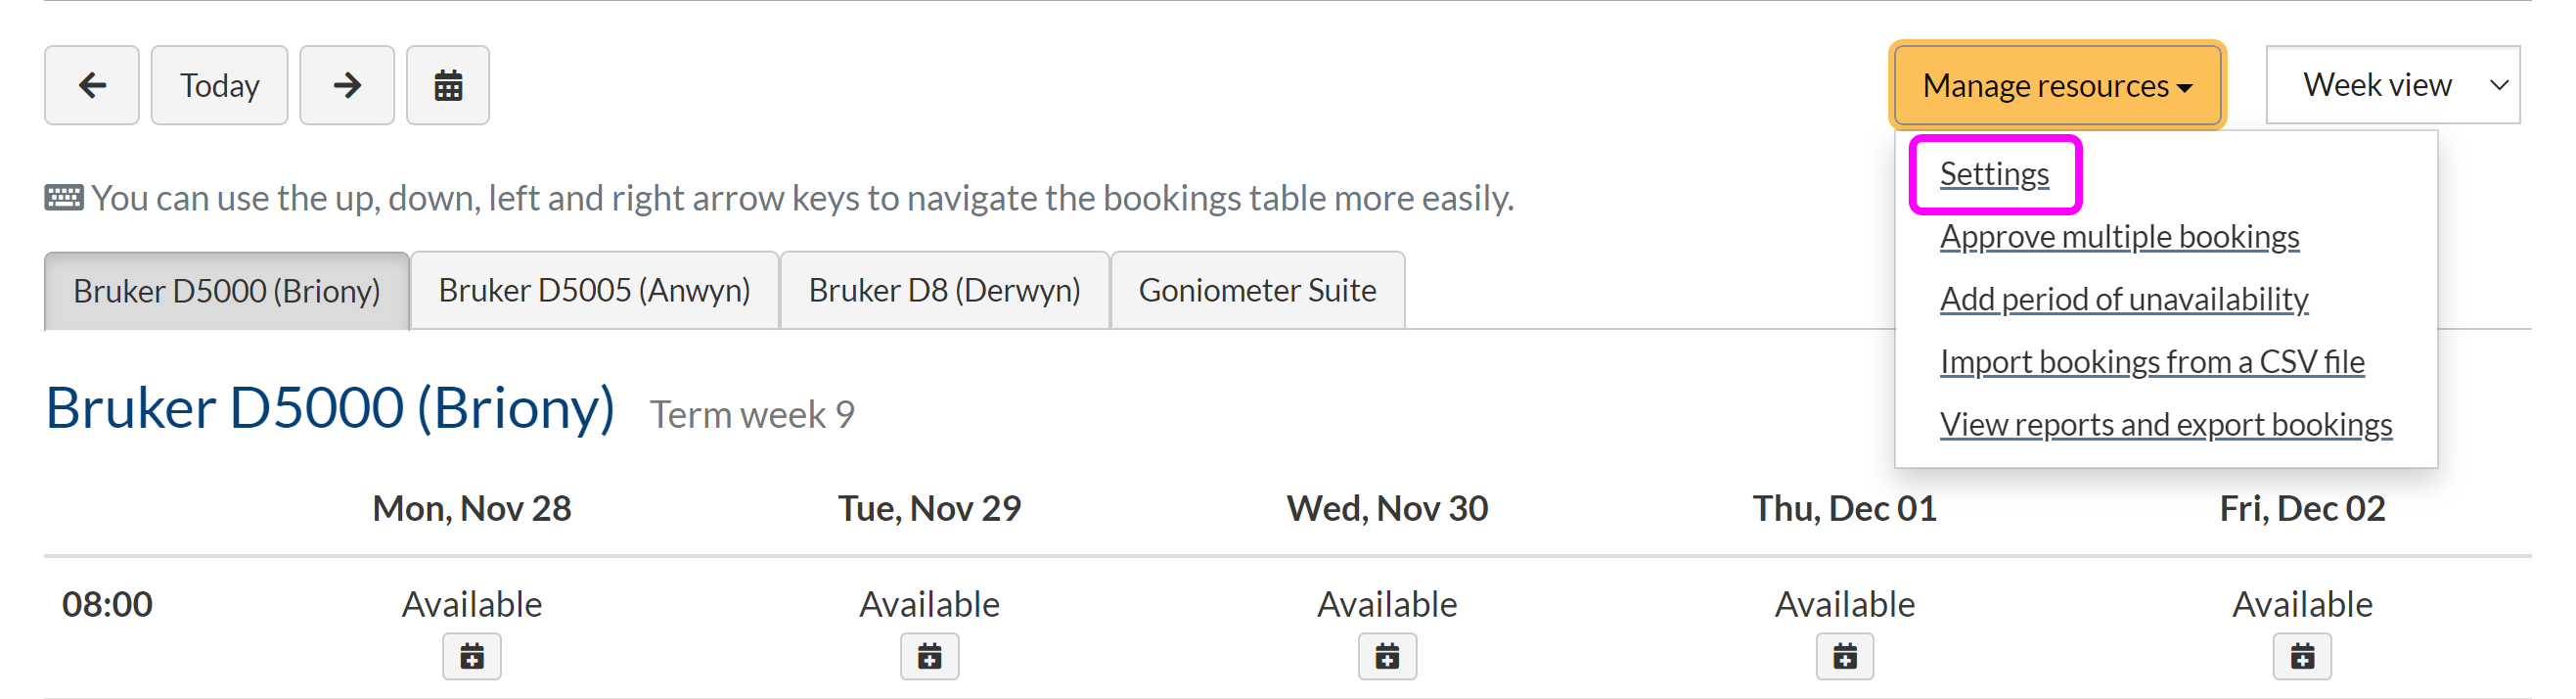
Go to Manage resource > Settings:

-
In the Resources section, select Add a resource. To edit the details of an existing resource, select the Edit Resource button on the right-hand side.

-
In the Add resource pop-up window, enter the Resource name to appear in a tab above the calendar. We recommend using a short name to keep the bookings page layout concise.

-
Enter a short Resource description to add extra detail. The text is visible to visitors in the Make booking pop-up window. For example, in the following image, the Resource name is 'Bruker D5005 (Anwyn)'; the Resource description is 'Bruker D5005 (Anwyn) with 2016 panoptical zoomifier'.

- It's possible for a slot to have multiple bookings. To enable more than one person to book a resource at the same time, choose a number from the Permitted bookings per slot drop-down list.
- Specify whether bookings require approval or not by selecting the appropriate radio button
-
If you require information from the person booking a resource, you can include additional text boxes on the booking form:

- Under the Booking form options, to add a mandatory field select Display this field.
-
Enter a label in the Field title text box = for example, 'Title':
- To capture further information in the booking form, you can show another text box. To do this, under Additional information, select Display this field.
- If you select this option, tell visitors what information you require in the Text box instructions field, e.g., 'Please state your reasons for booking'.
- Choose wheher to make the Additional information box mandatory or not by selecting the Make this field required checkbox.
-
Under the Booking display options, use the Details to display to users drop-down list to choose what information, if any, is displayed to visitors about existing bookings:

If you choose No details, a booked resource only shows the text 'Unavailable' to visitors. You can choose to display further information, such as the booker's name or booking title, if you specified those options above, or Allow viewers to view full booking details.
- Choose an option from the Details to display to administrator drop-down list to specify how much information you wish yourself and other administrators to see about each booking.
- When you have finished specifying the settings, select Add resource.