Skip to main content
Skip to navigation
Sign in
Study
Research
Business
Alumni
News
Engagement
Search Warwick
Search
Mathematics Institute
Study with us
Undergraduate Degrees
Postgraduate Taught Degrees
Postgraduate Research
Admissions contacts
Current students
UG Handbook
Current Postgraduate Students
Incoming
(Restricted permissions)
Research
Staff Research Interests
WMI Magazine
MRC
Events
General
People
Intranet
(Restricted permissions)
Meetings & Committees
(Restricted permissions)
People
(Restricted permissions)
HoD
(Restricted permissions)
Teaching
(Restricted permissions)
Director of Research
(Restricted permissions)
MRC
(Restricted permissions)
Finance, Grant, Funding and Expenditure
(Restricted permissions)
Management and Responsibilities
(Restricted permissions)
Staff
(Restricted permissions)
Postgraduate
(Restricted permissions)
Health and Safety
(Restricted permissions)
Facilities
(Restricted permissions)
IT
(Restricted permissions)
Events
(Restricted permissions)
Outreach Opportunities
(Restricted permissions)
Calendar
(Restricted permissions)
News Feed
(Restricted permissions)
DoT / DUGS
(Restricted permissions)
Research
Events
2011 - 2012
Topics in Control
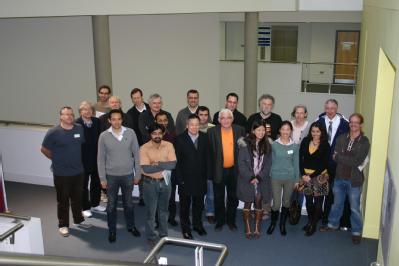
Photos
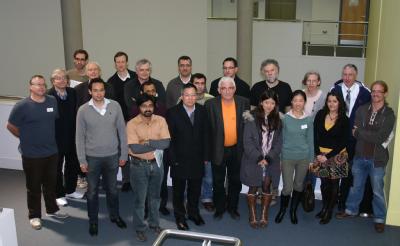
Photos