
Create signature - OWA
 To create a signature in Outlook web app:
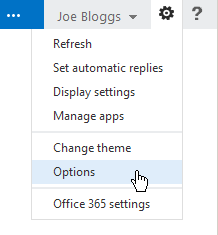
- Click on the cog icon (top right of screen)
- Choose Options (see screenshot)
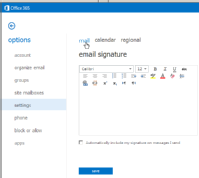
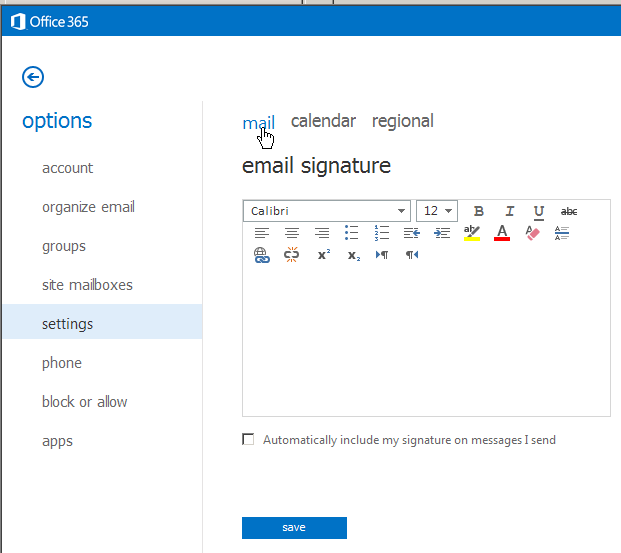
From this screen you now need to:
- Choose settings from the left navigation.
- Click on the mail (if not already active - see screenshot below right)
This will bring up the Signature window to create a new signature and/or edit an existing one.
Please note: If you use the Outlook client as well as the web version, in terms of signatures they are totally separate! If you have created any in the Outlook client, they are not available to use on the web version - even if you have specified one to automatically appear on all emails. If you create one on the web version, it will not be available to use when sending any email from the Outlook client.
 You can only have ONE signature in the web version.
- Fill out the full signature text you want to appear in the large text box.
- You can change font, size of font, add styles, decide alignment, add image or a web link.
- If you want to include your signature on all emails you send out, then click on the tick box at the end of the signature section.
- If you do not want a signature to appear on messages leave the tick box un-ticked.
- Click Save.
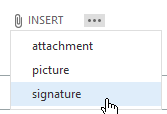 When you send any email first place your cursor at the postion in the email you want the signature, then click on INSERT on the email toolbar and then signature from the drop down menu to insert the web signature.